Saturday 26 October 2013

The Rig


As you need to take the engine out of the frame to do any work on the engine and the need to retorque the head after running i thought why not make a rig so I can iron out issues that may arise as I have rebuilt the engine so there will be a a few things to sort out. This way I will only have to put the engine in the newly painted frame.
Feet to keep it stable


Oil tank bracket ( I make all my stuff industrial strength)
A royal pain getting the silencer

Battery box
Next stop bracket for the solenoid

Solenoid in place and all the wiring.
Starter  button working

Oil tank in place

Ignition switch all wired up


Coils wired in on a arm

Carbs on.


Wednesday 23 October 2013

Head on time


New seals

Not sure what this is but a new ones fitted

Before the o ring


New rubber pucks
Head bolts torqued down
Cam chain held up by a bungee cord
On with the towers

On with the Cam sprocket
Locktight on theses two bolts
Cam shaft cap in place

Next the Rocker arms
Correct shafts in first
All in and torqued down
All double checked
Easy to set the gap with no rocker cover on

Thursday 17 October 2013

sparky bits


The wires from the generator are all but burned out at the connections.


Nice new fittings


Wednesday 9 October 2013

Operation Engine Rig

I have two options 
1. Put the rebuilt engine in the frame run for 500 miles then take the engine out to torque the head down then put it back in. 
2. Build a rig to run the engine on then torque the head and the put  in the frame minimising the damage to the new powder coating on the frame.


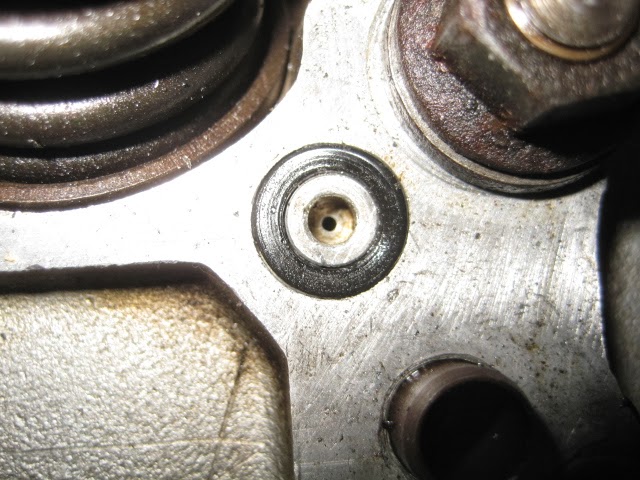
Option 2 has the added ability to balance the carbs and get the tappet gap spot on with no awkward angles to work the feeler gauge.


Lets spray the block first


Headers fitted.


I will try and fit an old silencer so I can run without going deaf 


One butchered silencer fitted.

Fabricate a oil tank bracket.


Looking good.


Battery box done now on the the coil holder.